DIY Painting Ideas for Cold Nose Creations Wall Art
Posted by Ken D. on 19th Oct 2024
DIY Painting Ideas for Cold Nose Creations Wall Art
Cold Nose Creations offers our original 18 to 30-inch wall art designs in unpainted versions. These items are shipped to you with two coats of gray premium sealing primer and arrive ready for you to decorate in any creative method you choose.
You can simply paint your piece one solid color using spray paint if you prefer. If you plan to expose your finished piece to the elements, be sure to use a rust-proofing enamel for painting. We recommend Rust-Oleum spray enamels.
You can also use a latex paint. For example, if you want the piece to match the trim of your house, you can use the same paint used on your exterior trim. We give the metal two coats of rust-proofing primer before we ship it to you, so as long as you use an exterior paint your metal piece should stand up nicely to all weather.
If you decide to decorate your metal art using one of the techniques suggested below, and you plan to display your finished artwork outdoors you will need to either 1) Make sure that the paint you are using is a weatherproof enamel, or 2) be sure and give the finished piece a couple coats of a weatherproof clear coat. We recommend Rust-Oleum spray-on gloss or semi-gloss clear enamel. It’s available at any hardware or home store for around $6-$10.
Here are some of our customers’ favorite ways to paint and decorate our wall art pieces.
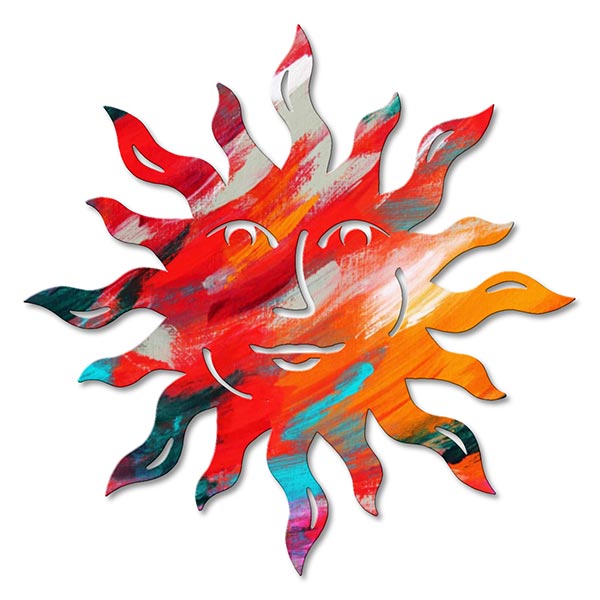
BRUSH STROKES
This technique involves coats of multiple paint colors applied with a dry brush. Using a paintbrush with a small amount of paint (almost dry), will allow you to create streaks with the brush for an artistic effect. Depending on how much you want the color strokes to blend, you will want to allow each color to dry to some degree before applying the next brush strokes.

STAINED GLASS EFFECT
To achieve this look, you will first use a black paint marker to draw intersecting lines on the unpainted primer surface. These intersecting lines will create shapes that you will then fill in with different colors of your choice. You’ll want to stay within the lines, but don’t worry if you touch the black lines (just don’t go over them). You can always retrace those lines after the colors are dry.
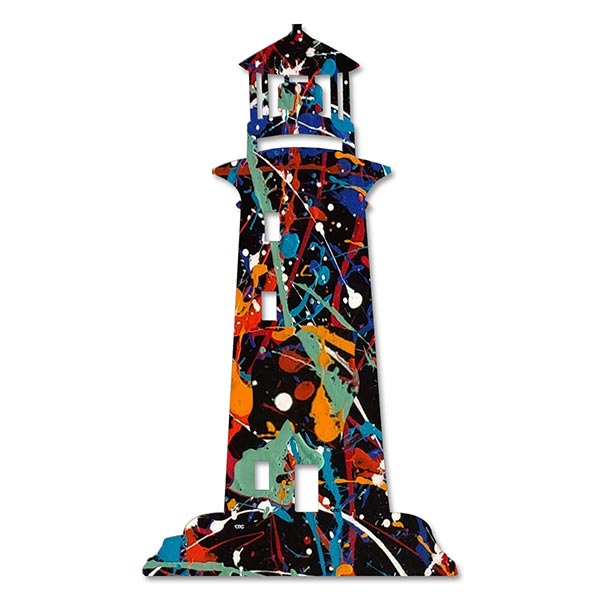
SPLATTER PAINTING
First you will need to apply a base color of paint over the entire gray primer surface. Then it gets fun and a bit messy. Using a brush, your hands, or whatever you have handy, fling or drip different colors onto the base color. There are no rules here, just splatter away until you have the desired look.
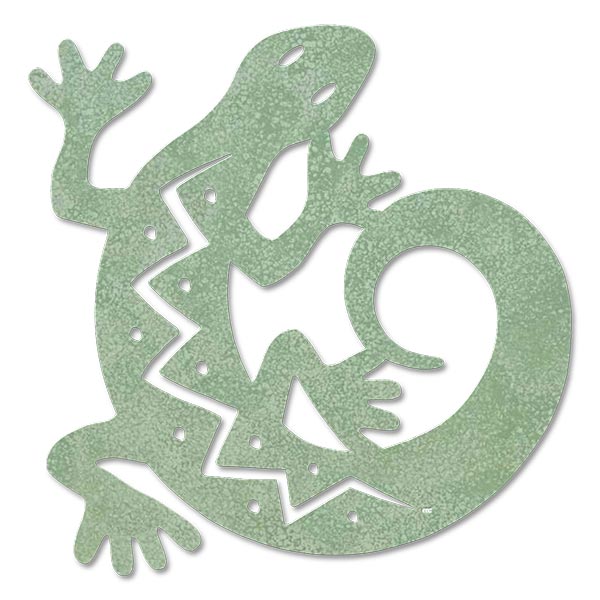
SPONGE PAINTING
First paint the piece with a base color of your choice. Then choose a complementary or contrasting second color. Mix one part of the second color with around 4 parts of clear glaze (available at most hardware and home stores) to create a “faux glaze”. Dip a water-dampened natural sea sponge into the faux glaze mixture and wipe off the excess. Then dab the sponge repeatedly onto the surface of the piece creating the desired pattern.

FINGER PAINTING
Most of us trained for this in kindergarten, and now you can show off your skills! Start with a base coat of a solid color. Our example has a white base coat. Then, use non-toxic fingerpaint and your hands to create the image you desire. To create the handprint pattern in our example, it may be best to let the prints dry before adding additional colored hand or fingerprints.

PAINTING USING STAMPS
This method uses foam or rubber stamps that you can purchase at craft stores or make yourself. Start with a basecoat color of your choice. After it dries, use a brush or dab the stamp with a different color paint. Then lightly press the stamp onto the surface of the piece. You can so this as many times as you want, with any color combination and pattern. You may want to let each stamp color dry before adding a new color.

STENCILING
Stenciling involves first painting the piece with a basecoat. Then overlay a stencil onto the piece and spray-paint or brush a contrasting color carefully over the stencil. When the stencil is removed, the pattern will be transferred onto the piece. You can make a stencil yourself using rigid cardstock, or you can purchase stencils at any craft store.
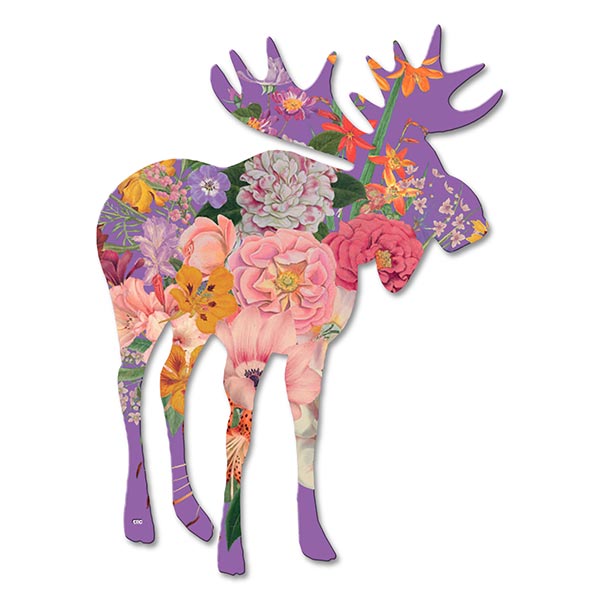
DECOUPAGE
This method involves gluing designs of paper or other thin material onto you base-coated metal piece. Then you coat the entire piece with a brush-on decoupage coating or a spray-on acrylic clear coat to seal the designs. You can let your imagination run wild with this decorating technique as you can use just about anything to create your designs. Our example shows flower transfers over a purple basecoat.
These are only some of the ways that you can turn Cold Nose Creations metal décor into your own personal works of art. If you’ve decorated one of our pieces in your creative style, we would love to see it! Just contact us using the link at the top or bottom of this page and tell us about it. We may feature it in an article and share it with our followers.


